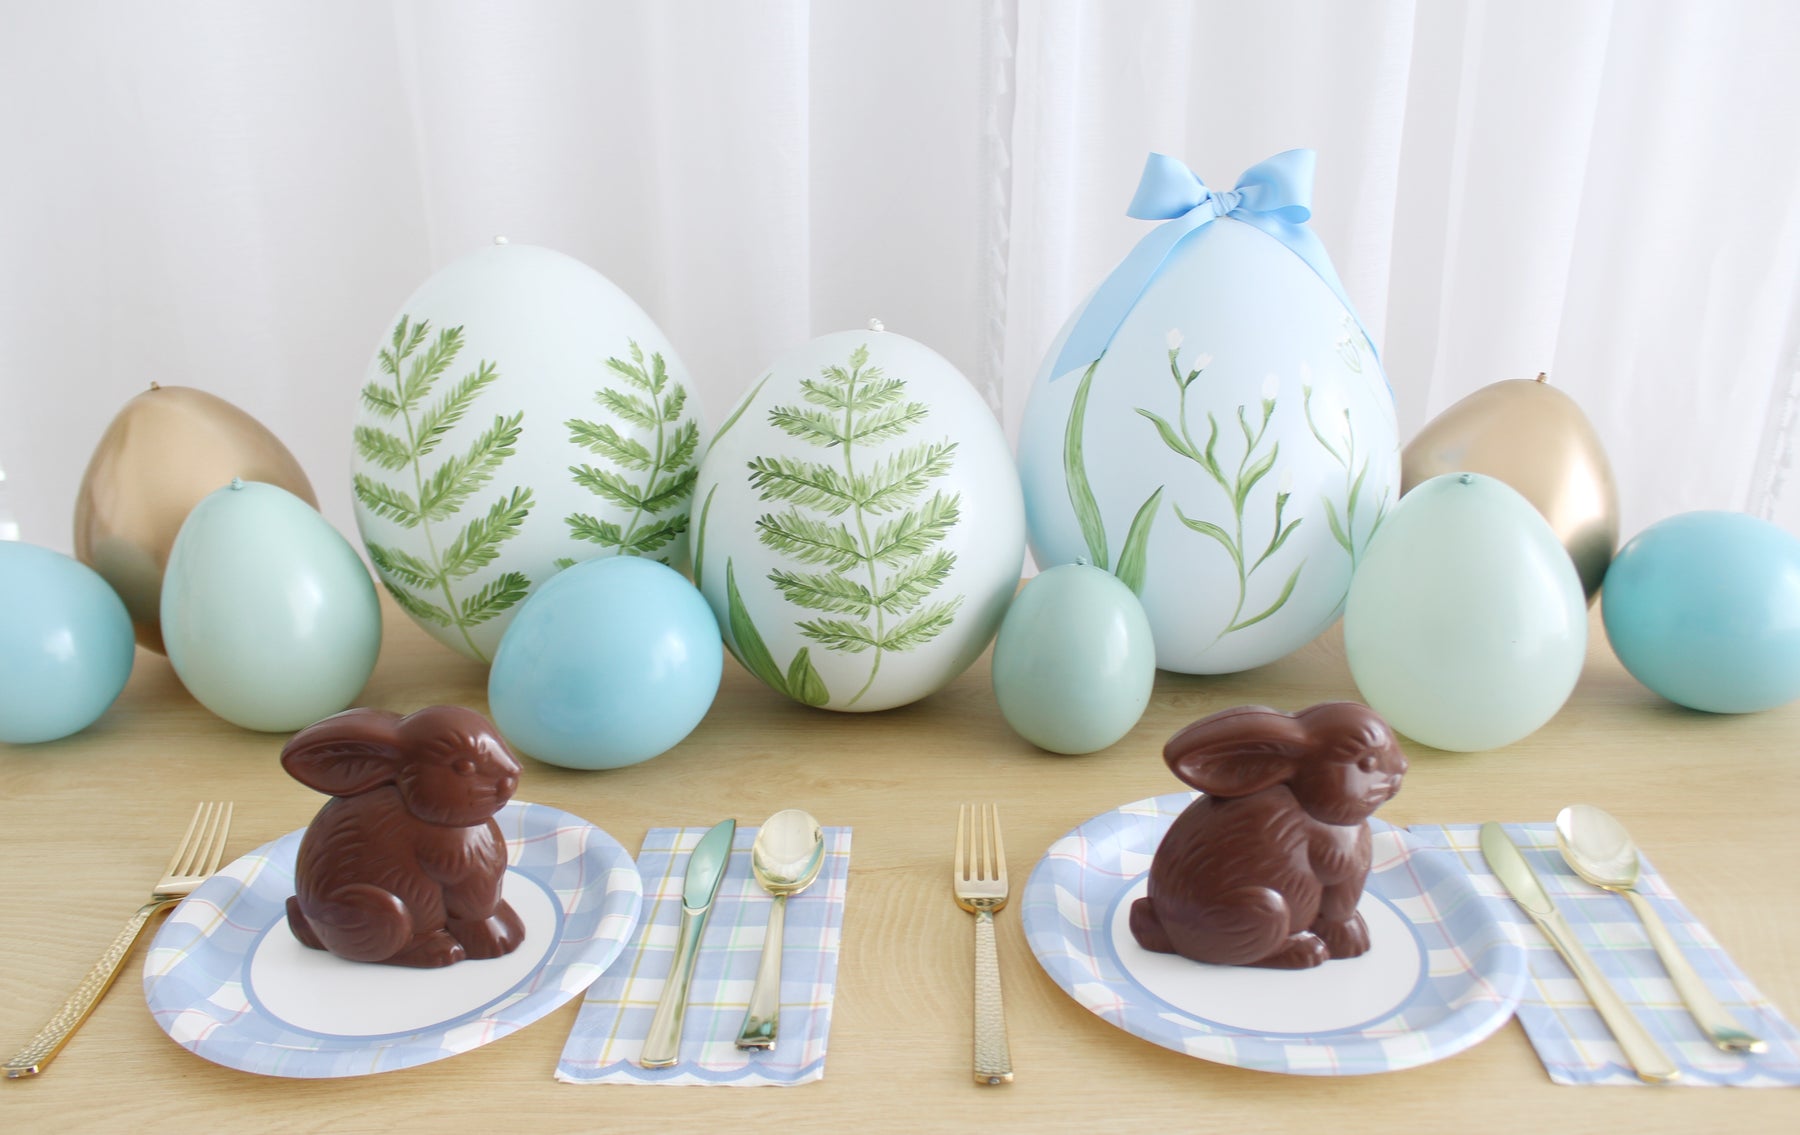
DIY Balloon Easter Egg Centerpiece
Easter is next week, and this EASY centerpiece idea is perfect for any decor look you’re going for! The best part about it is the balloon eggs will stay in place, however you position them with one trick… MARBLES!!!

Tools:
- Scissors
- Hand pump or electric inflator
- Small dowel or dull skewer
- Paint brush
- Extended Balloon Expander
Materials:
- Marbles
- Acrylic Paint
- 2 balloons per egg (size of your liking)
Instructions:
- To begin, decide how many Balloon Easter eggs and what sizes you will need for your centerpiece.
- Each Balloon Egg requires 2 of the same size balloon as they need to be double stuffed for protection. If you wish to make a lighter color, double stuff a color inside a white balloon to lighten the shade. If you want the color the balloon comes in, double stuff 2 if the same color.

- Once all the balloons have been double stuffed, use the expander tool to fill balloons with marbles. For larger balloons (11-16”), I used 6-8 marbles. For smaller (5”) balloons I used 2-3 marbles.
- After filling and tying the balloons, snip off all the necks. You can cover them later with a bow or leave as is.
- Using acrylic paint, paint on designs of your liking. I pre sketched mine based off of inspiration on Pinterest. This helped with deciding color scheme and finishing this project quickly.

- Let Balloon Eggs dry before placing on table.
- When placing on table or surface for display, you can rotate the balloon and move the marbles around to the position you desire the balloon egg. Set it down and it will stay in place!


I added “chocolate” bunny figurines I found at Walmart. Some fresh greenery or florals in between the Eggs would also be soooo pretty! Happy Easter!!

Comments
Leave a comment